
 01-27-2015, 05:28 PM
Last edit by: IB Advertising
Issue: How To: Spark plug change-2004-2008 5.4 3V V8
Find out how to make this difficult task manageable with more information about the following:
� Tool and parts needed
� Step-by-step directions
� Proper use of a lisle toolClick Here
Please Read the full discussion below
Find out how to make this difficult task manageable with more information about the following:
� Tool and parts needed
� Step-by-step directions
� Proper use of a lisle toolClick Here
Please Read the full discussion below

How To: Spark plug change-2004-2008 5.4 3V V8
10-14-2011, 09:34 PM
#1
Registered User

Thread Starter
iTrader: (2)

Be advised! Neither F150Forum.com or myself will be held liable for any damages or injury's caused by doing this swap yourself. This is just a guideline for those that wish to save the money and do this yourself.
This is a hot topic around the forums but I have not found another full write up on how to do this swap here so I thought I would share my experience in the form of a "How To".
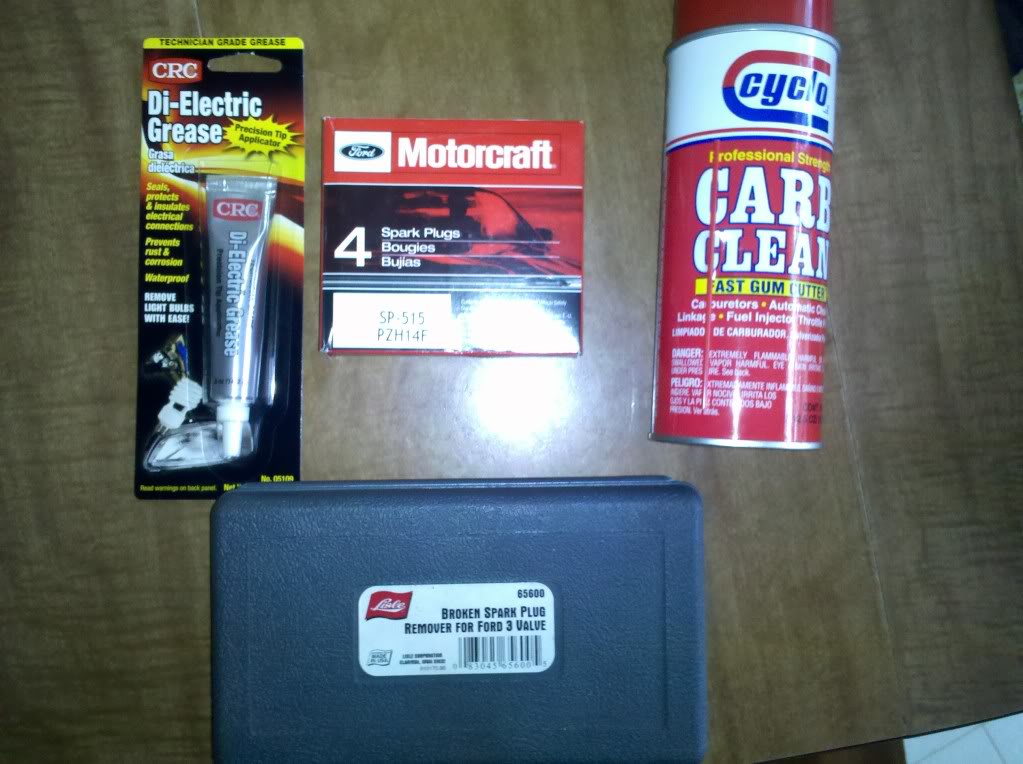
Here is a list of tools/ parts and other preparations I gathered before I did the swap. (your list may vary)
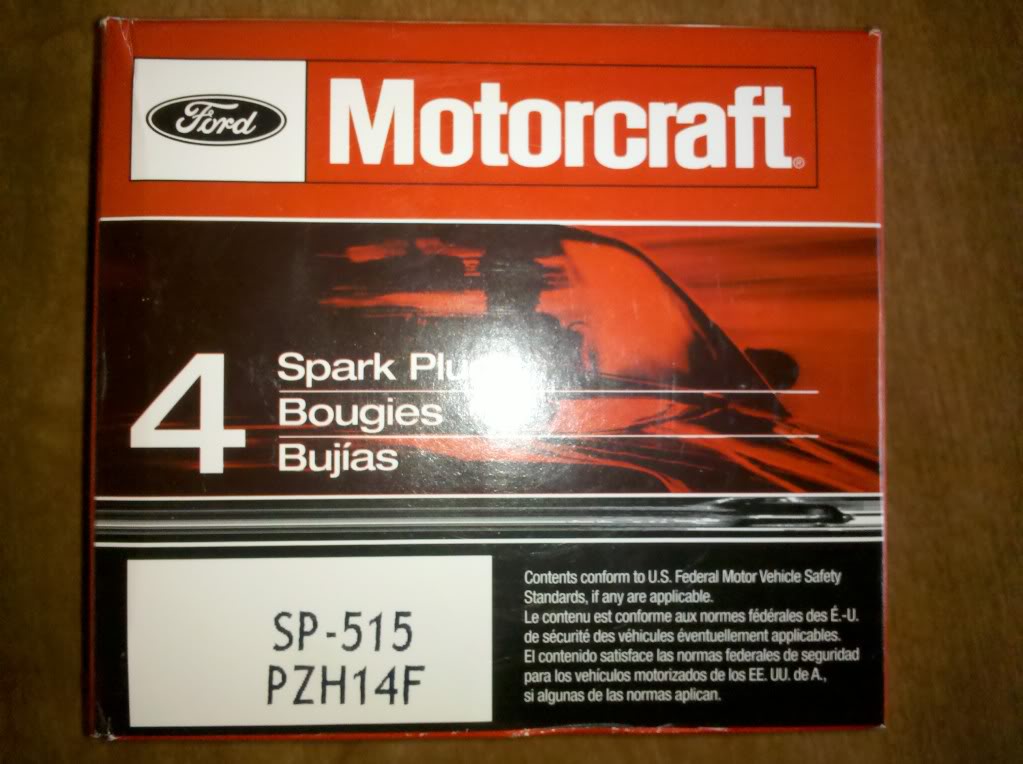
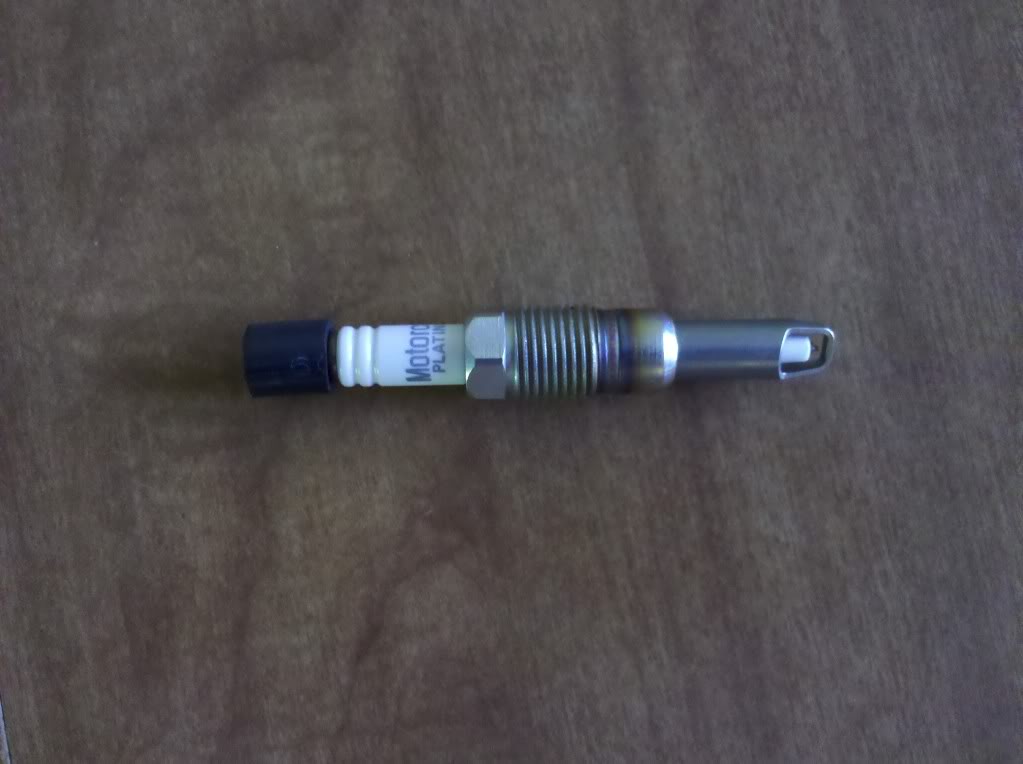
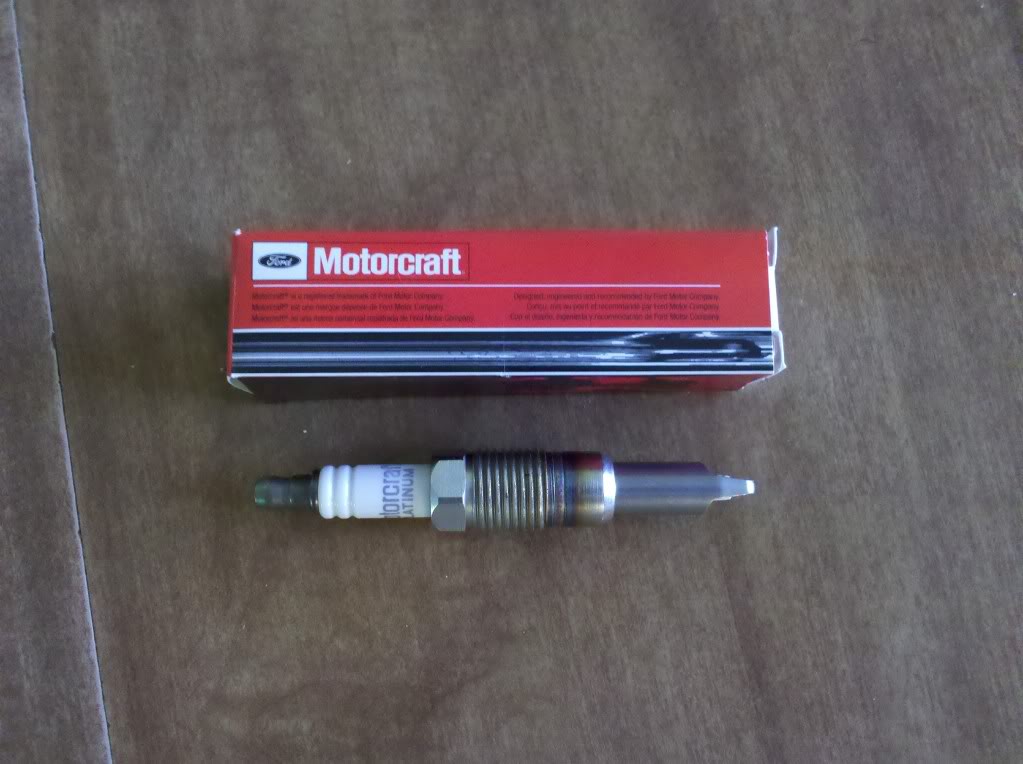
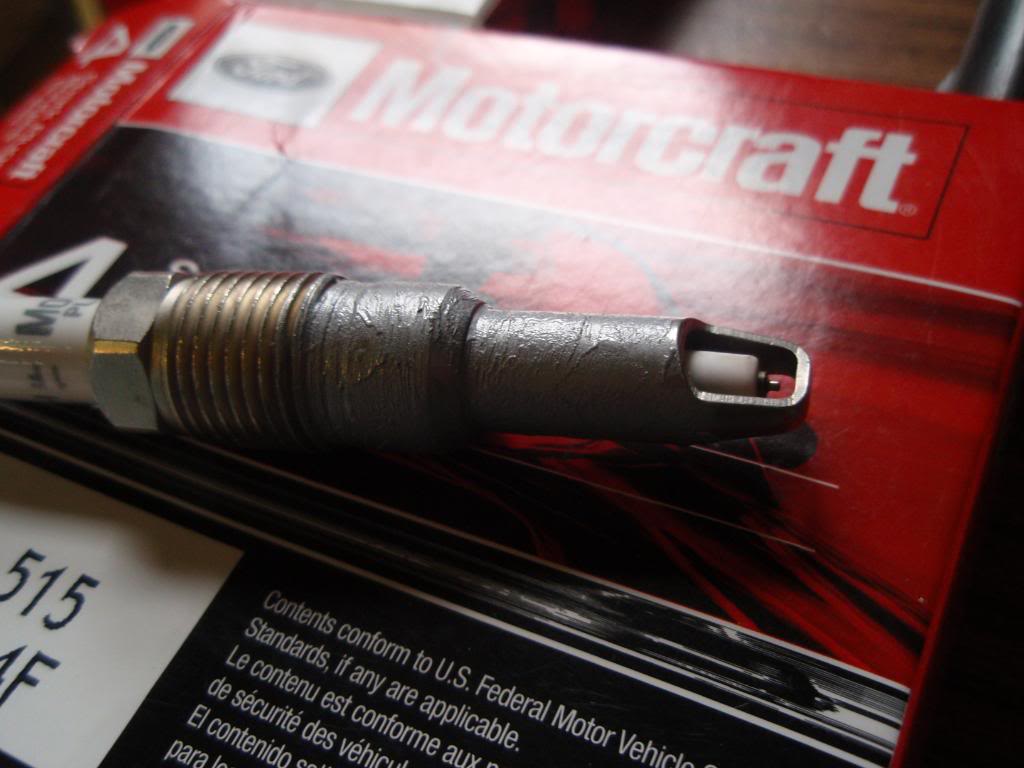
* Spark Plugs (I used the Motorcraft SP-515 Platinums. $9.50 from www.rockautocom)
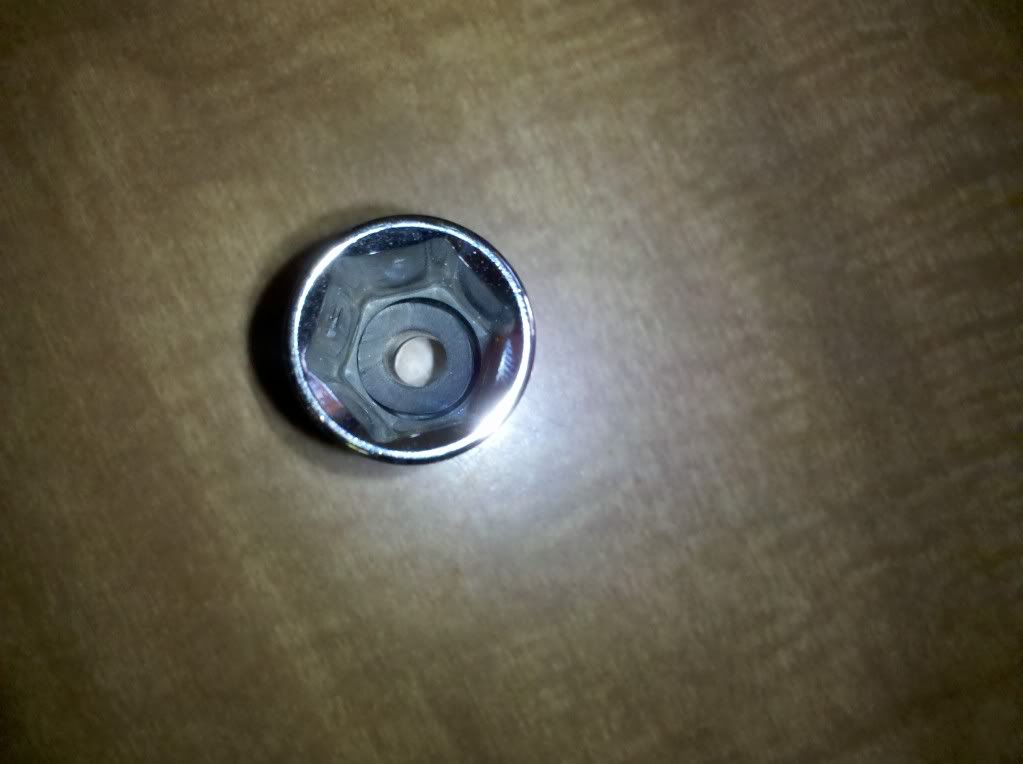
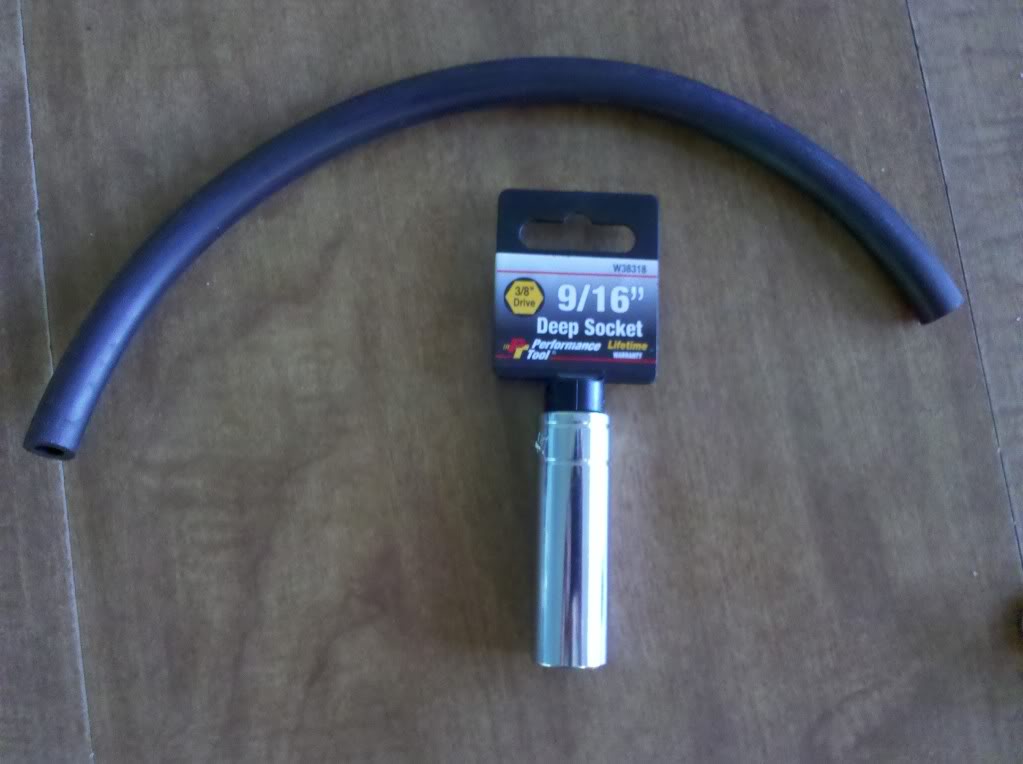
* 9/16" Spark plug socket (I made my own with a 9/16" deepwell with a piece of rubber 1/4" ID hose in socket.)
* Various extensions, the plugs are pretty deep in the head.
* 10mm socket for removing the PCM and bracket
* 8mm wrench for to remove the battery cable
* 7mm socket for the bolts that secure the COP to the head
* Impact gun. I used a 1/2" drive but a 3/8" drive would work as well.
* PB Blaster penetrating oil
* Carb cleaner
* Air nozzle
* Dielectric grease
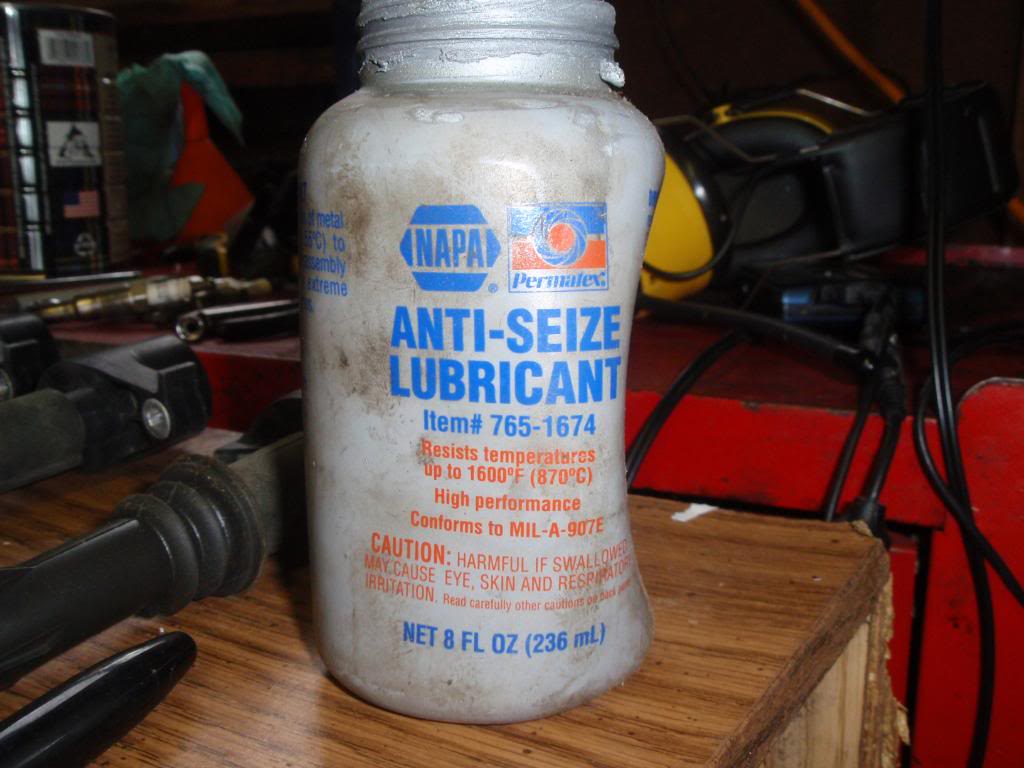
* Anti seize
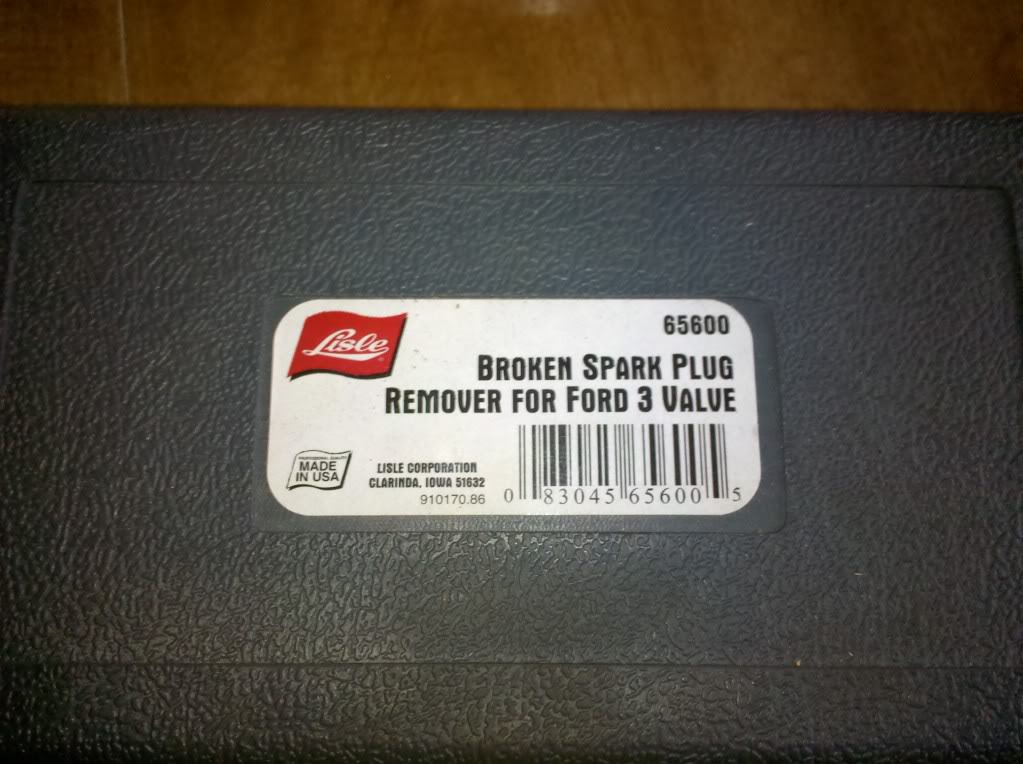
* Lisle broken spark plug removal tool- part# 65600 (I got mine used online for much cheaper than a new kit)
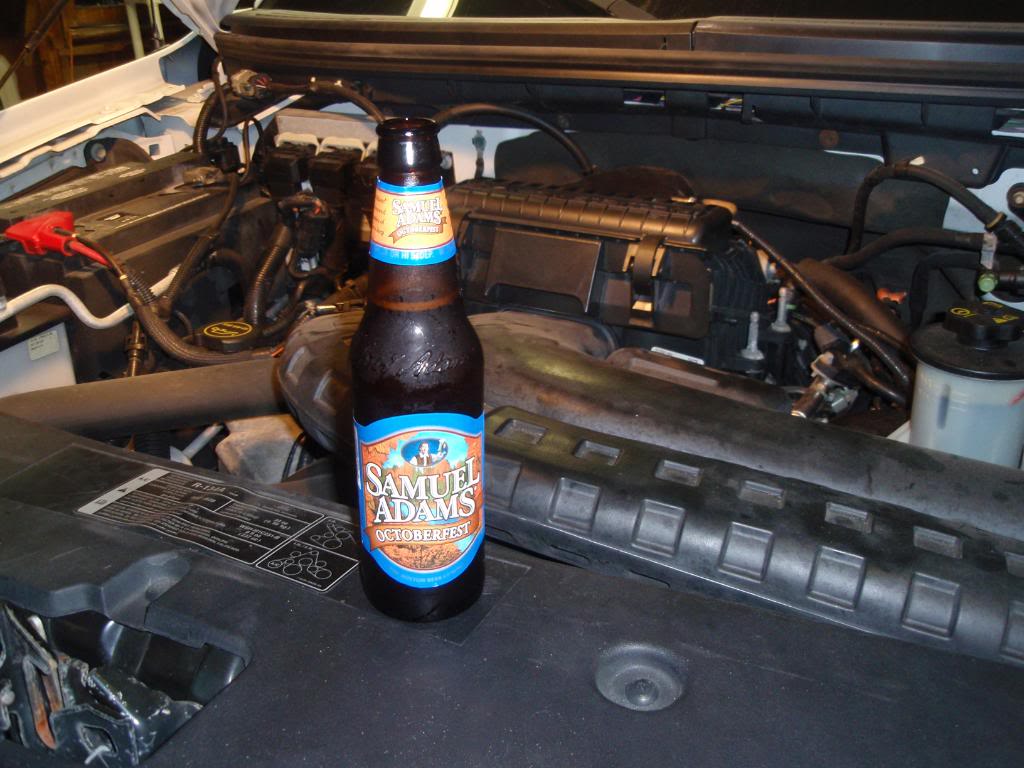
* A cold beverage or two of your choosing.
Ok Now that you have the supplies you can get started on the swap. To prepare myself for this I read thread after thread, watched video after video and talked to several people who have don this to find out what methods and tricks worked and what didnt and from that info I formed my plan.
First thing I did was warm up the engine, once its warm shut the engine off and disconnect the negative battery cable from the battery.

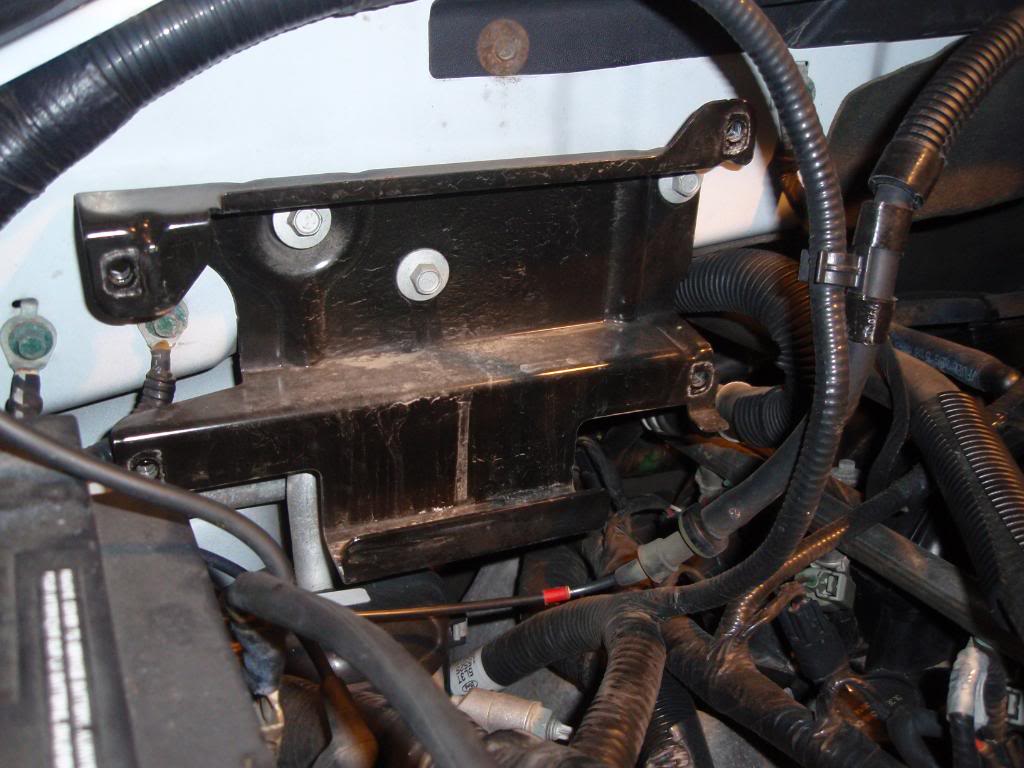
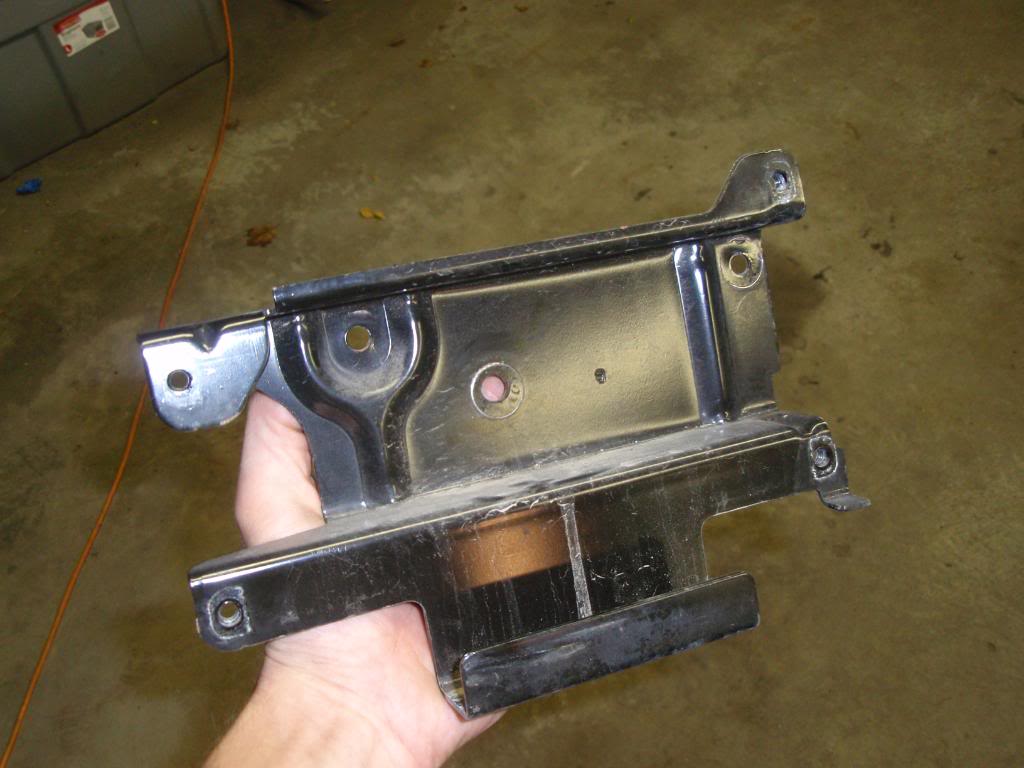
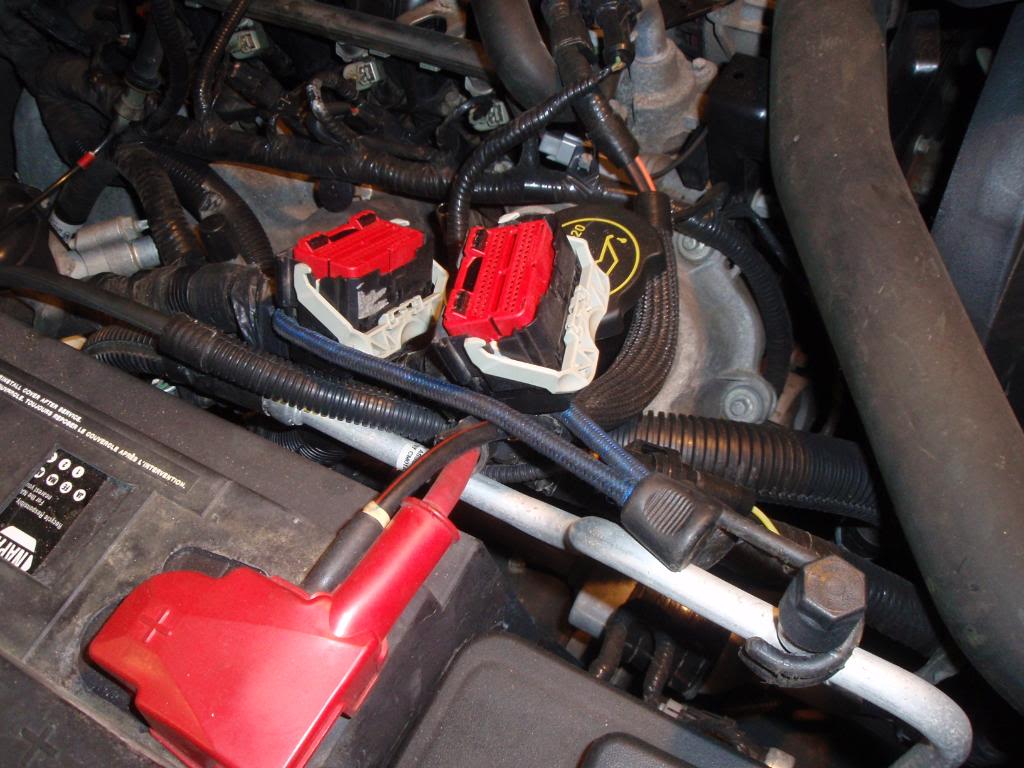
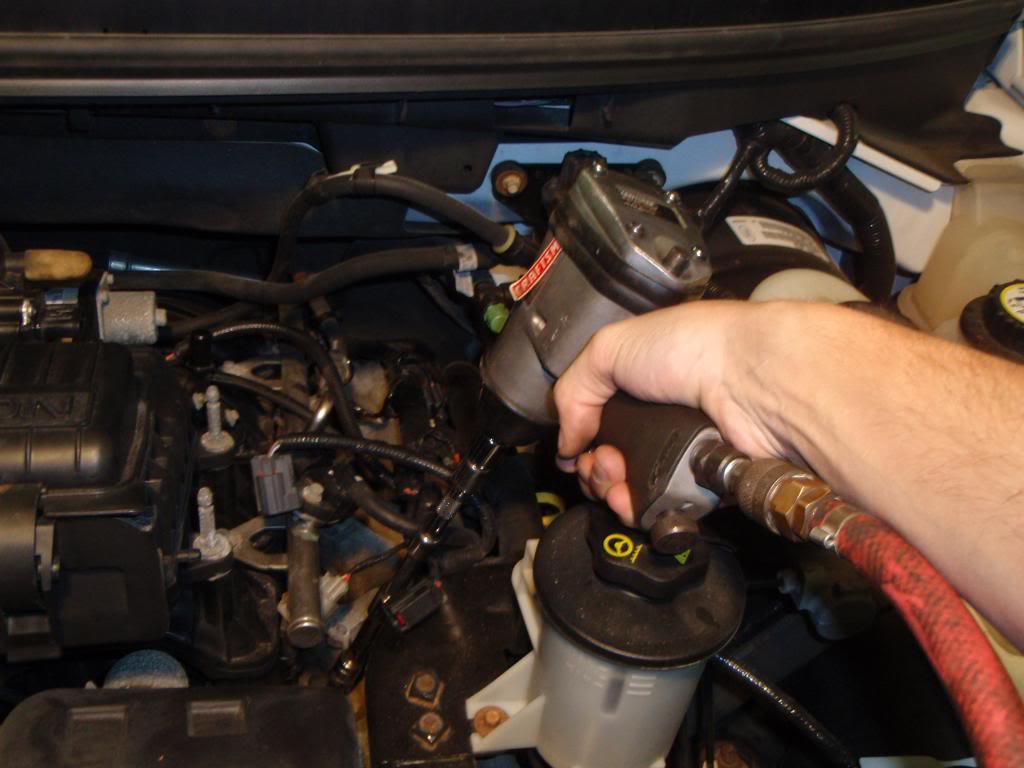
Now unplug and remove the PCM and PCM bracket. Its on the firewall on the passenger side by the battery, it needs to come off so you can get to the rear plug on that side.

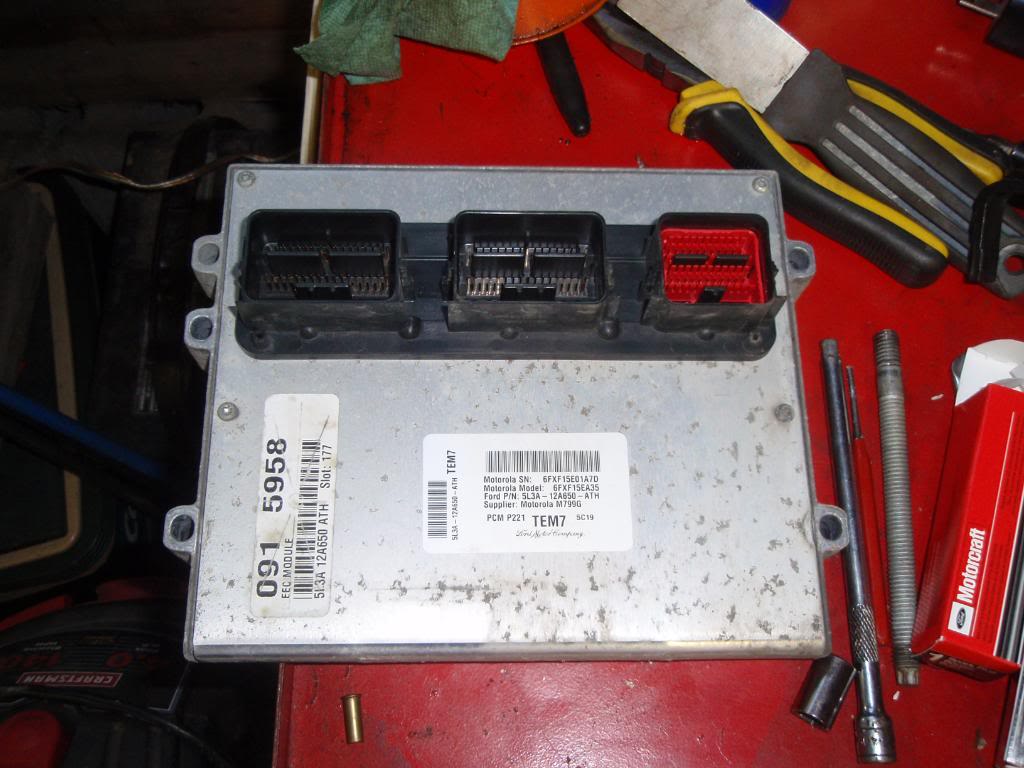
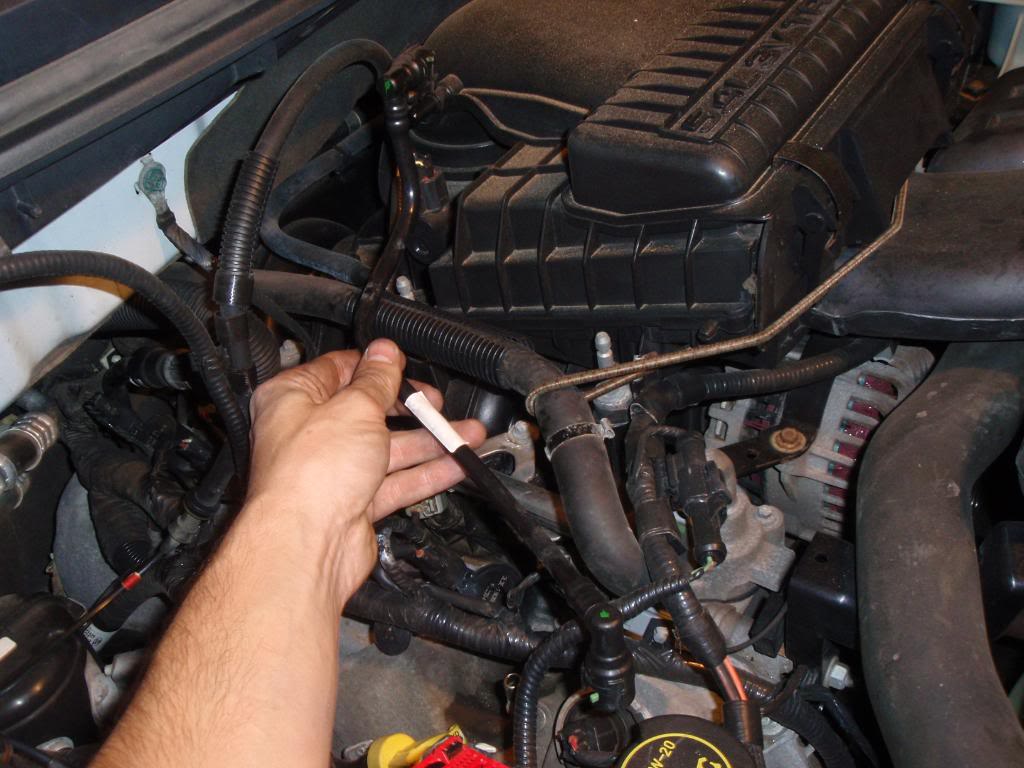
I used bungee cords to pull the PCM harness and other hoses back out of the way.
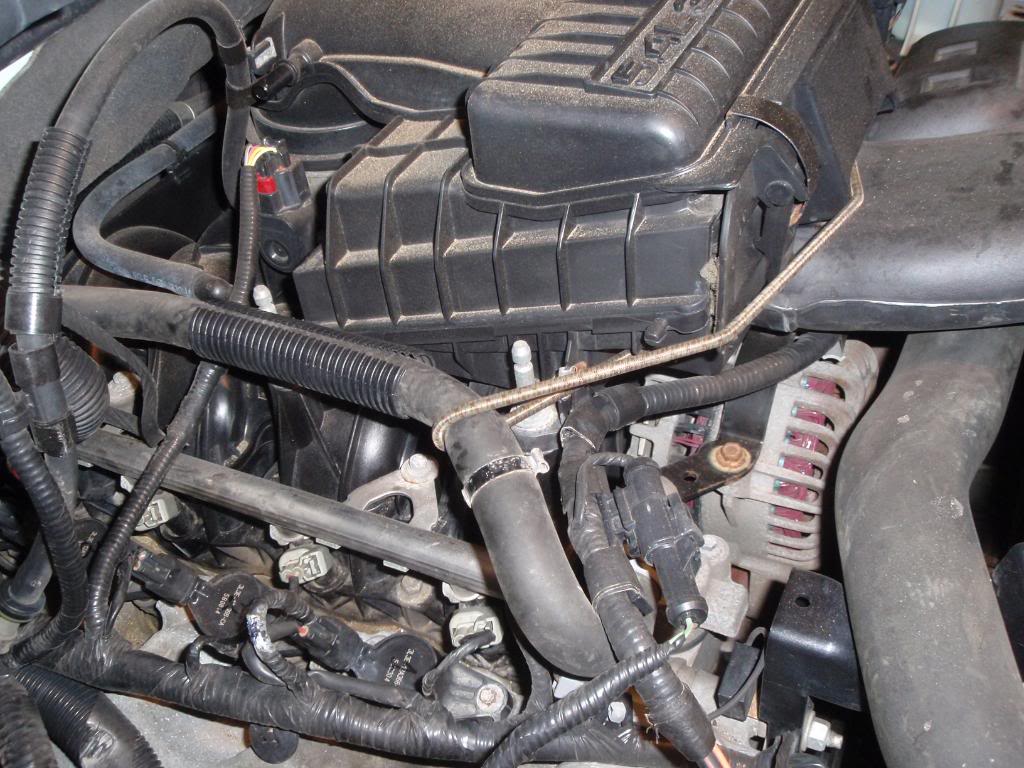
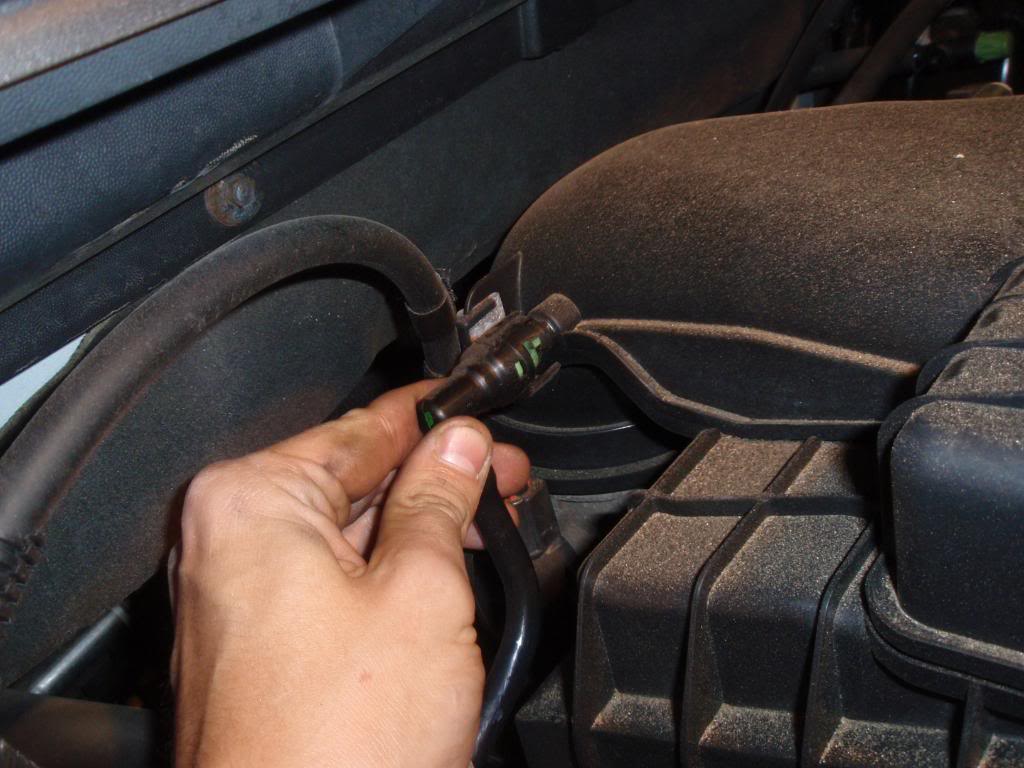
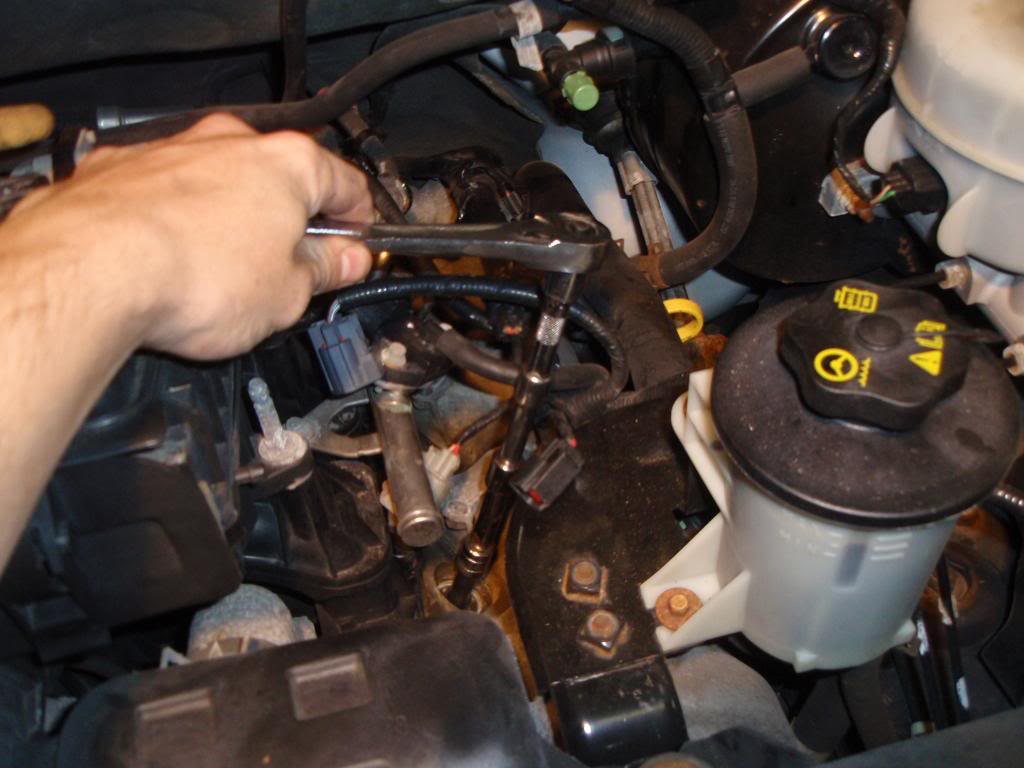
Also to free up some space I unclipped and removed this vacuum line and got that out of the way.

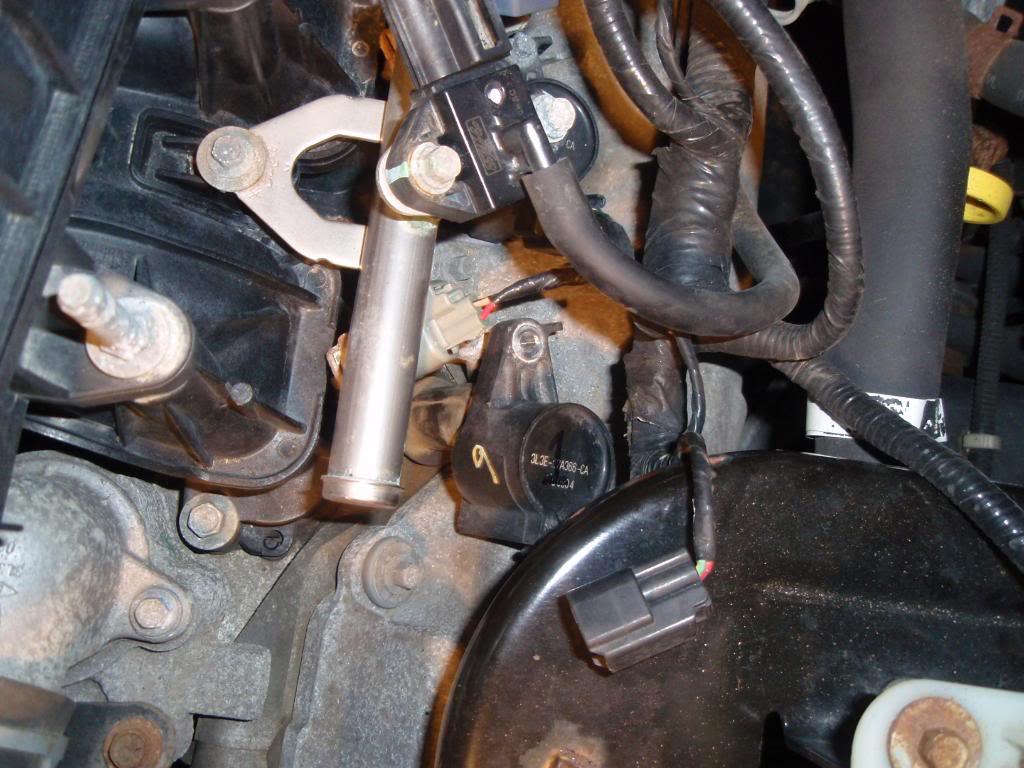
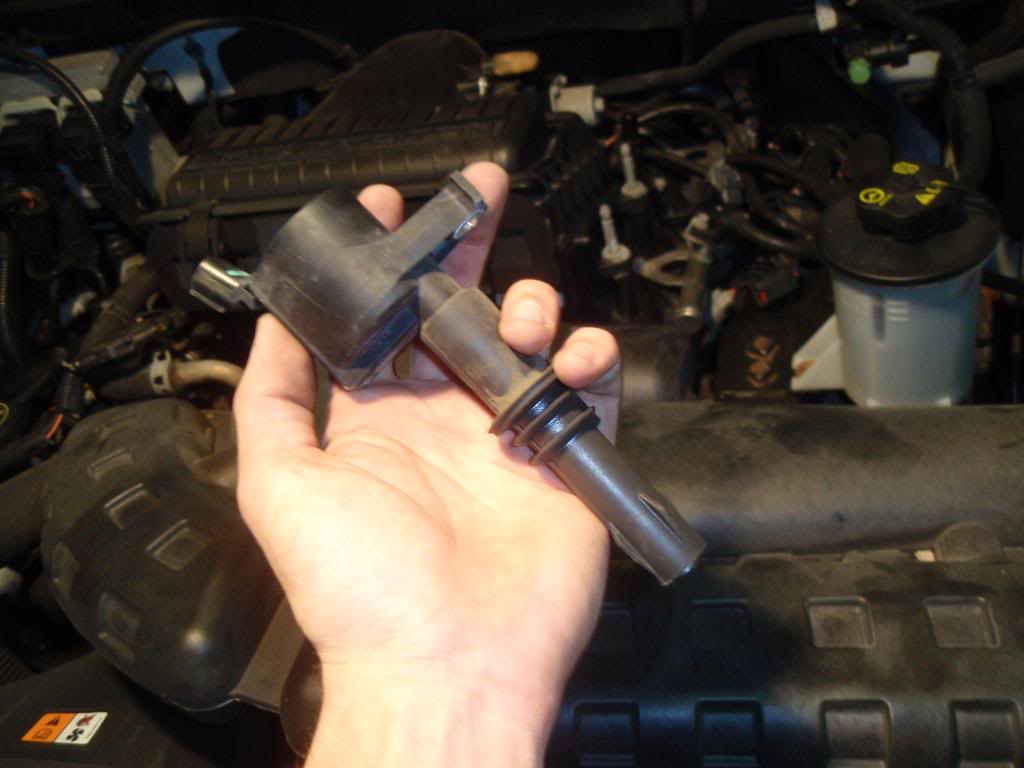
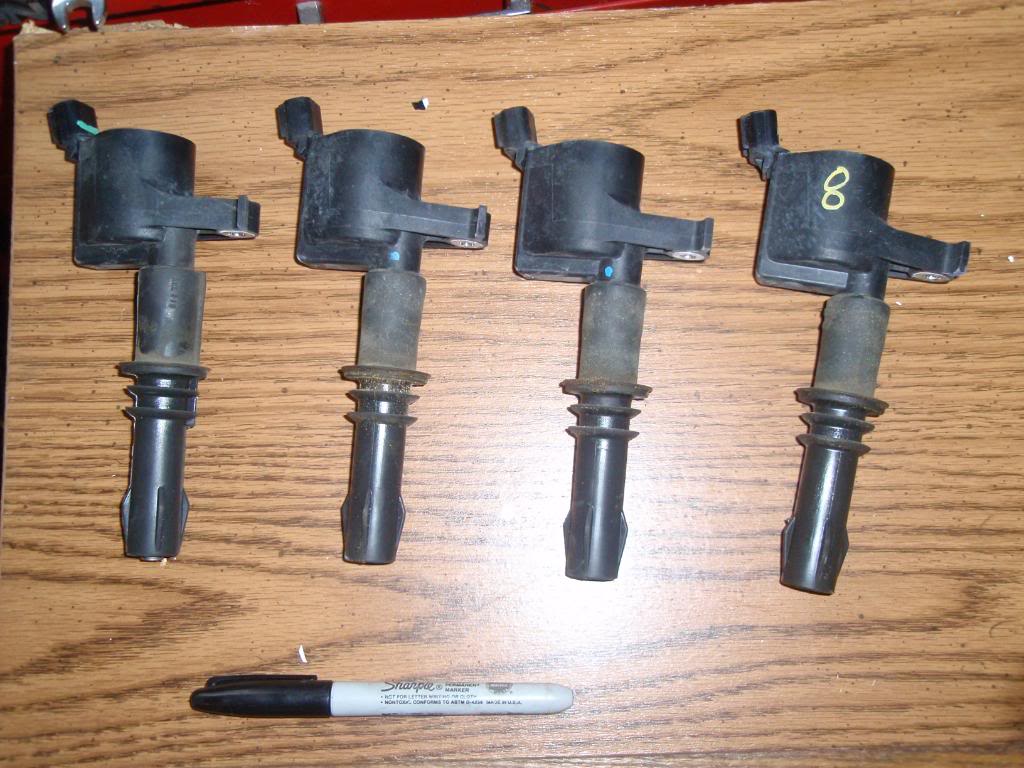
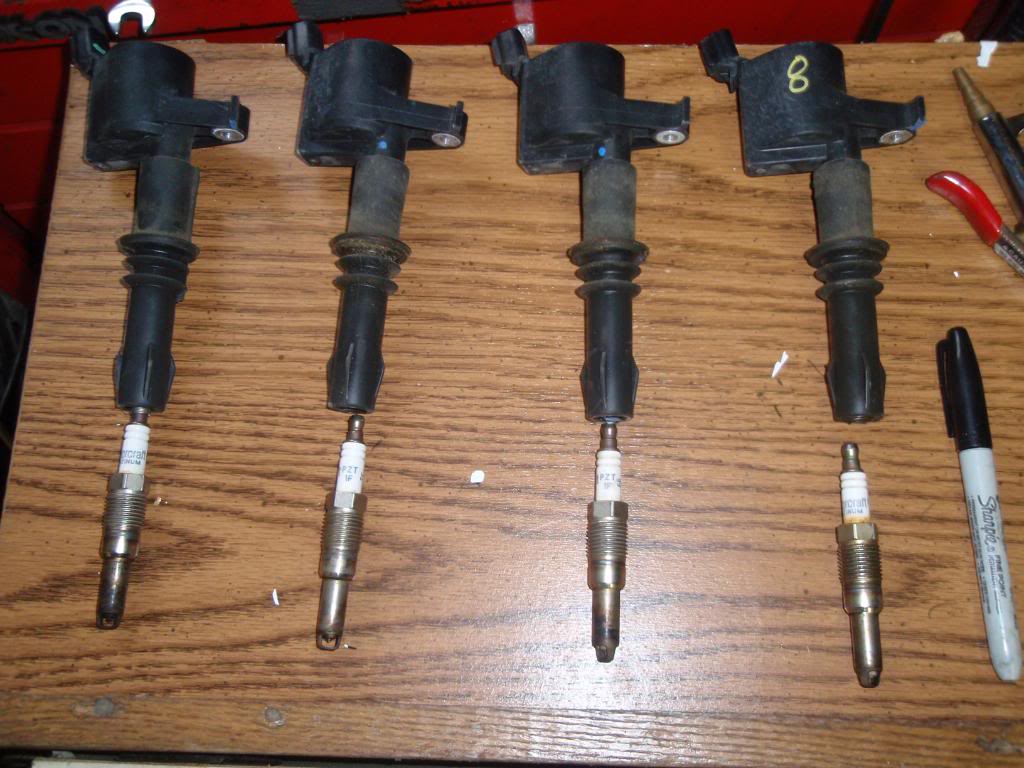
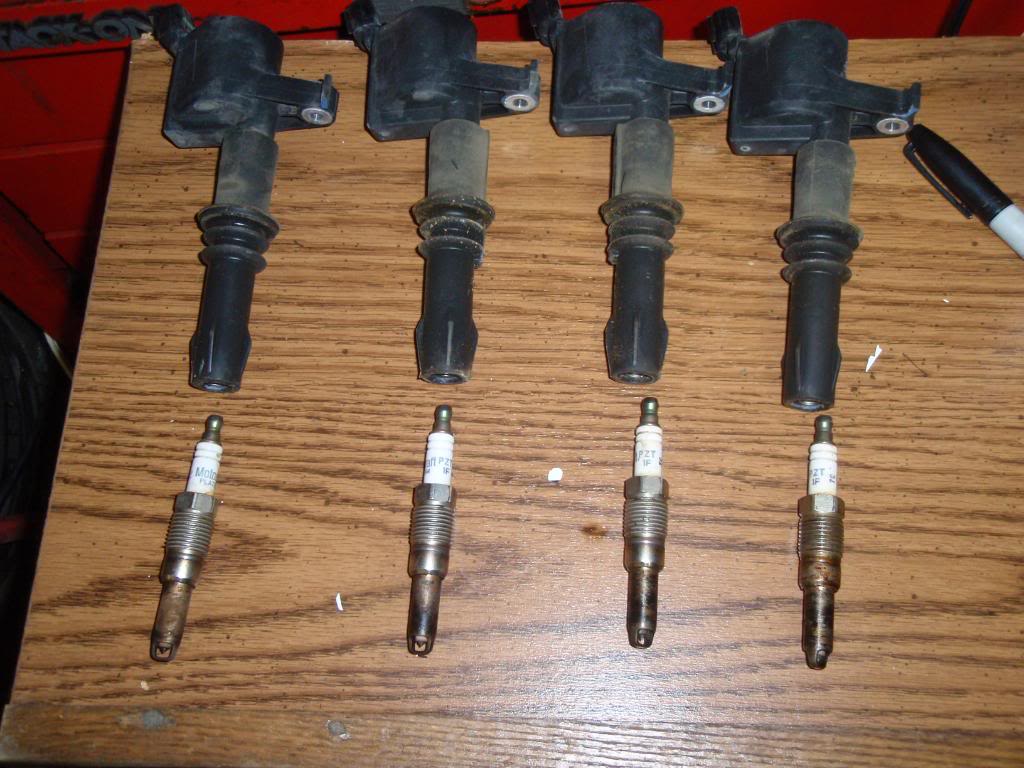
Ok now that everything is out of the way its time to remove the COP's and COP boots from the spark plugs but before you do take your air nozzle and using compressed air blow out the pockets around the COP boots, alot of dirt and crud accumulates there and you dont want that falling down into the plug hole when you remove them. Once you remove the 7mm bolt that secures the COP and unplug it the COP will then pull right out with the boot attached to it. I numbered my COP's and layed them out in order out of the way.
Ok now that the COP's are out of the way now you can start on the plugs themself.
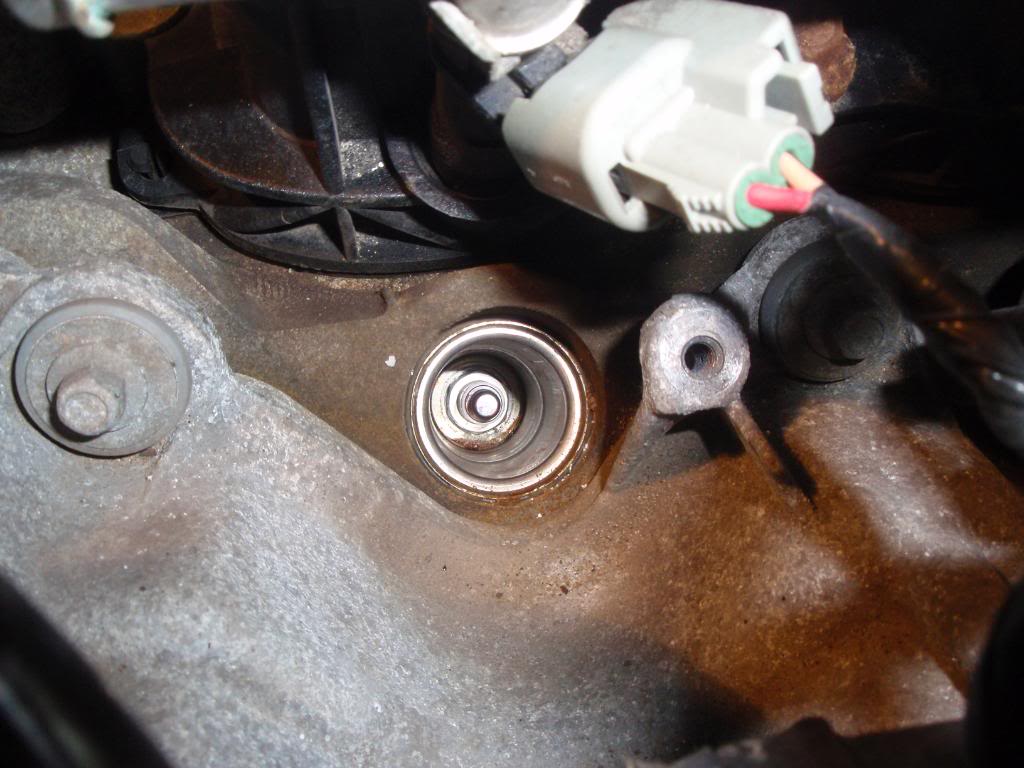
I used compressed air again to blow and dirt or crud that may have been in the plug hole under the COP boot just to be on the safe side. Now take your 9/16" plug socket with the extensions and a 3/8" drive ratchet and just crack each plug loose by hand, dont go any further than that.
Next, grab your PB Blaster and Carb cleaner and shoot a bit down into each plug hole, dont go crazy with it but get enough in there to get the job done, just remember whatever you put in those holes will flow down into the cylinder after the plug is removed to dont use to0 much of it.

Now, grab a beer or a coke and hang out for an hour or so to let the penetrating oil and the carb cleaner do their job.
Ok now that the fluids have had time to soak in and soften up the corrosion and carbon build up its now time for the moment of truth, grab your Impact, extensions and plug socket (I turned my impact down to the lowest setting and lowered the air pressure on the regulator to about 60 PSI) and start buzzing the plugs out. You will need to use a u-joint with your extension to get to the rear most plug on each side.
I should have played the lotto today because all 8 of my plugs came out without a wimper.
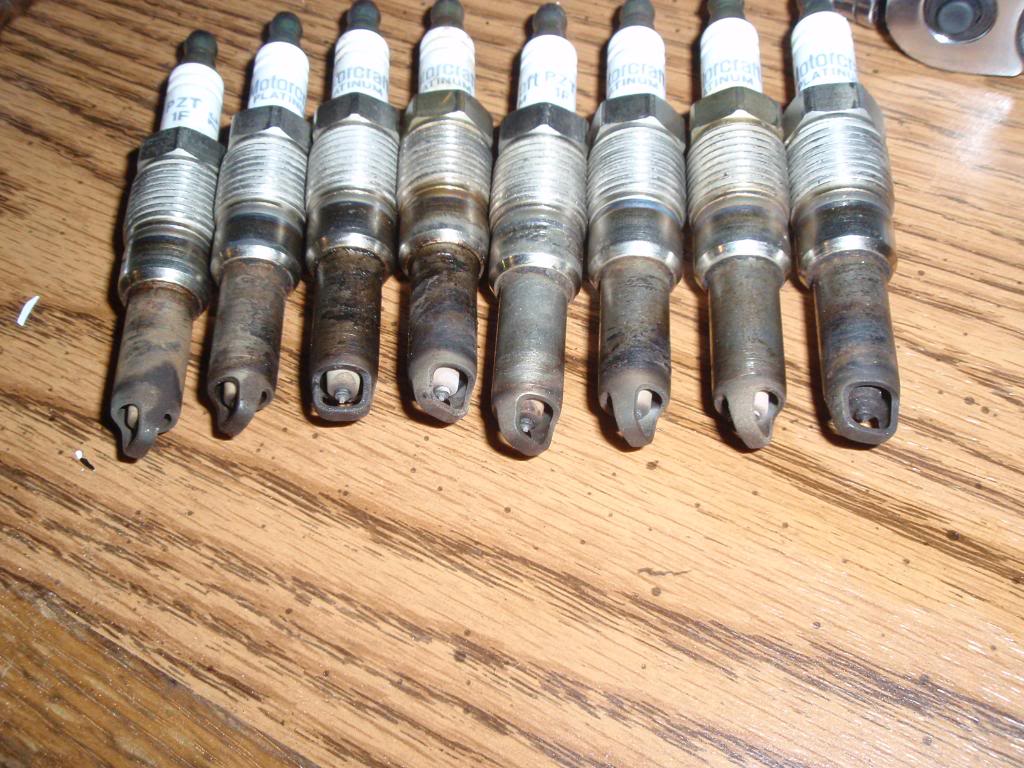
Ok now at this point, hopefully you have had the same success as I had and you can breath a sigh of relief and be ready to install the new plugs. If you werent so lucky its time to break out the Lisle tool and go to town. (if anyone reading this that has successfully used the broken plug extractor please chime and and tell your experience)
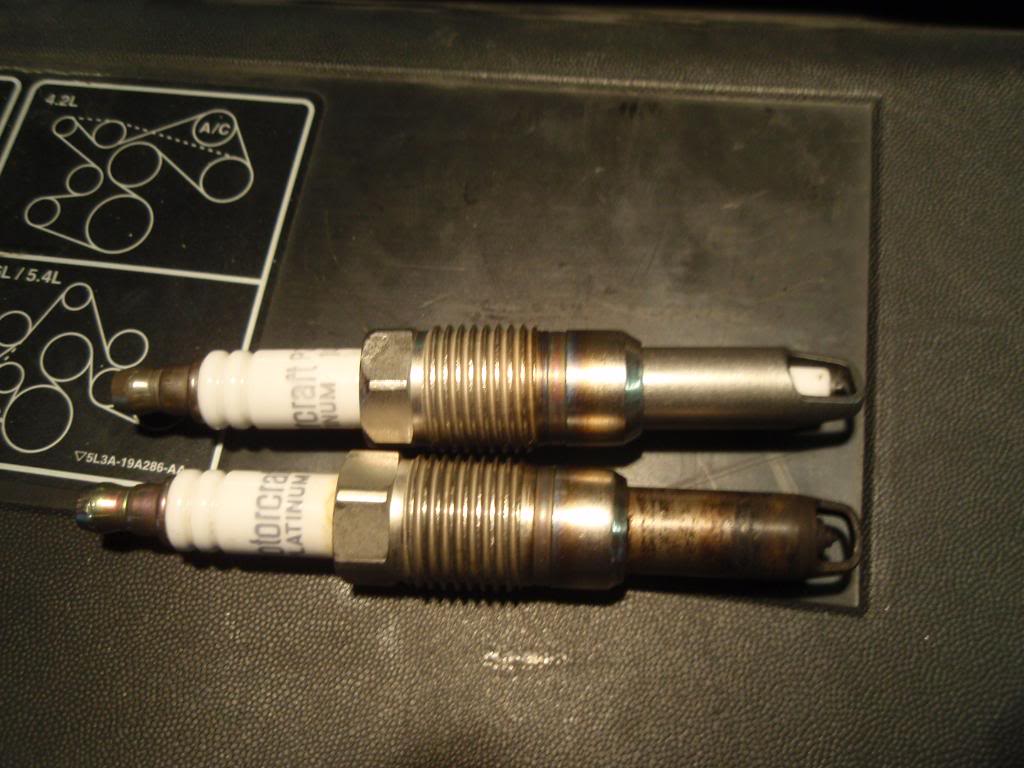
Next, grab your new plugs and your anti seize and coat the end of each plug with a thin coat of anti-seize. There is some debate about whether or not to coat the threads, I chose not to but its up to you.
Now drop the plugs down into the holes and torque them down to the proper spec. (25 inch pounds)
Now clean any dirt and grime off the COP boot paying attention to the end that goes over the plug, if there is any old dielectric grease on it clean that off and apply new grease to the boot and COP spring. Once that is done drop the COPS back into the plug holes and fasten them back down. (dont forget to plug them back in) Re-assemble the vacuum line (s), PCM bracket and PCM and re-connect the battery. Now youre ready to start the truck and see how it runs!
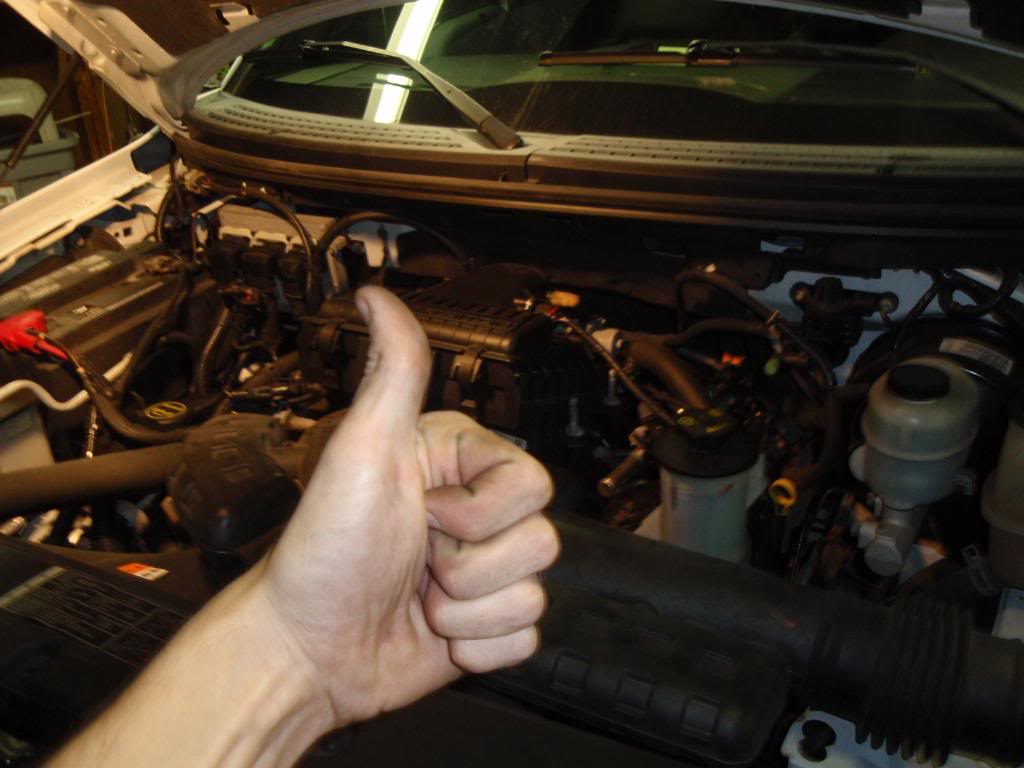
After it fires up and purrs like a kitten grab another cold beverage, stand back and admire your work knowing you just saved yourself $500 to $1000 by doing this yourself! (I had $116 into parts and supplies not including tools and beer)
After doing this swap successfully I can honestly say this is one of the easiest plug jobs ive done thus far on any vehicle. Had any broke that would have added another degree of difficulty but if your a do it your selfer like I am and youve been thinking about doing this yourself dont let it intimidate you. Just do as I did and prepare for the worst but hope for the best. Hope this write up helps somebody. Good luck!
This is a hot topic around the forums but I have not found another full write up on how to do this swap here so I thought I would share my experience in the form of a "How To".
Here is a list of tools/ parts and other preparations I gathered before I did the swap. (your list may vary)
* Spark Plugs (I used the Motorcraft SP-515 Platinums. $9.50 from www.rockautocom)
* 9/16" Spark plug socket (I made my own with a 9/16" deepwell with a piece of rubber 1/4" ID hose in socket.)
* Various extensions, the plugs are pretty deep in the head.
* 10mm socket for removing the PCM and bracket
* 8mm wrench for to remove the battery cable
* 7mm socket for the bolts that secure the COP to the head
* Impact gun. I used a 1/2" drive but a 3/8" drive would work as well.
* PB Blaster penetrating oil
* Carb cleaner
* Air nozzle
* Dielectric grease
* Anti seize
* Lisle broken spark plug removal tool- part# 65600 (I got mine used online for much cheaper than a new kit)
* A cold beverage or two of your choosing.
Ok Now that you have the supplies you can get started on the swap. To prepare myself for this I read thread after thread, watched video after video and talked to several people who have don this to find out what methods and tricks worked and what didnt and from that info I formed my plan.
First thing I did was warm up the engine, once its warm shut the engine off and disconnect the negative battery cable from the battery.
Now unplug and remove the PCM and PCM bracket. Its on the firewall on the passenger side by the battery, it needs to come off so you can get to the rear plug on that side.
I used bungee cords to pull the PCM harness and other hoses back out of the way.
Also to free up some space I unclipped and removed this vacuum line and got that out of the way.
Ok now that everything is out of the way its time to remove the COP's and COP boots from the spark plugs but before you do take your air nozzle and using compressed air blow out the pockets around the COP boots, alot of dirt and crud accumulates there and you dont want that falling down into the plug hole when you remove them. Once you remove the 7mm bolt that secures the COP and unplug it the COP will then pull right out with the boot attached to it. I numbered my COP's and layed them out in order out of the way.
Ok now that the COP's are out of the way now you can start on the plugs themself.
I used compressed air again to blow and dirt or crud that may have been in the plug hole under the COP boot just to be on the safe side. Now take your 9/16" plug socket with the extensions and a 3/8" drive ratchet and just crack each plug loose by hand, dont go any further than that.
Next, grab your PB Blaster and Carb cleaner and shoot a bit down into each plug hole, dont go crazy with it but get enough in there to get the job done, just remember whatever you put in those holes will flow down into the cylinder after the plug is removed to dont use to0 much of it.
Now, grab a beer or a coke and hang out for an hour or so to let the penetrating oil and the carb cleaner do their job.
Ok now that the fluids have had time to soak in and soften up the corrosion and carbon build up its now time for the moment of truth, grab your Impact, extensions and plug socket (I turned my impact down to the lowest setting and lowered the air pressure on the regulator to about 60 PSI) and start buzzing the plugs out. You will need to use a u-joint with your extension to get to the rear most plug on each side.
I should have played the lotto today because all 8 of my plugs came out without a wimper.
Ok now at this point, hopefully you have had the same success as I had and you can breath a sigh of relief and be ready to install the new plugs. If you werent so lucky its time to break out the Lisle tool and go to town. (if anyone reading this that has successfully used the broken plug extractor please chime and and tell your experience)
Next, grab your new plugs and your anti seize and coat the end of each plug with a thin coat of anti-seize. There is some debate about whether or not to coat the threads, I chose not to but its up to you.
Now drop the plugs down into the holes and torque them down to the proper spec. (25 inch pounds)
Now clean any dirt and grime off the COP boot paying attention to the end that goes over the plug, if there is any old dielectric grease on it clean that off and apply new grease to the boot and COP spring. Once that is done drop the COPS back into the plug holes and fasten them back down. (dont forget to plug them back in) Re-assemble the vacuum line (s), PCM bracket and PCM and re-connect the battery. Now youre ready to start the truck and see how it runs!
After it fires up and purrs like a kitten grab another cold beverage, stand back and admire your work knowing you just saved yourself $500 to $1000 by doing this yourself! (I had $116 into parts and supplies not including tools and beer)
After doing this swap successfully I can honestly say this is one of the easiest plug jobs ive done thus far on any vehicle. Had any broke that would have added another degree of difficulty but if your a do it your selfer like I am and youve been thinking about doing this yourself dont let it intimidate you. Just do as I did and prepare for the worst but hope for the best. Hope this write up helps somebody. Good luck!
Last edited by kozal01; 12-01-2011 at 04:10 PM.

The following 42 users liked this post by kozal01:
09_XLT (12-19-2012),
11B40 (10-25-2017),
5.0952700 (12-16-2013),
Adam 07FX4 (04-16-2017),
ALAN (05-08-2013),
and 37 others liked this post.
The following users liked this post:
Ben Elting (02-24-2014)
10-15-2011, 10:11 AM
#6
Senior Member

Great write up! Lot's of good info here! Thanks 
The following users liked this post:
Mtc111227 (07-28-2023)
10-15-2011, 11:55 AM
#7
Senior Member
this is finally what we have ben looking for! i plan on doing mine next weekend, so this helped a TON. also im assuming you put the carb cleaner in with the pb blaster to thin it out and so it will combust once you fire it up. you could blow it out instead.
Last edited by jbhill; 10-15-2011 at 12:00 PM.
Trending Topics
10-15-2011, 12:28 PM
#8
Registered User
Thread Starter
iTrader: (2)
No I used the carb cleaner to help break up the carbon build up on the tip of the plug. A mechanic friend of mine said he does the PB Blast with carb cleaner mix whenever he does these plug swaps. His theory is if there is any corrosion on the long part of the plug the PB Blaster will penetrate and loosen that and then the carb cleaner will take care of the carbon build up. He said he has been very successful using that method so I copied him.
The following users liked this post:
Korhorn6 (10-21-2019)
10-16-2011, 12:19 AM
#9
Thanks for the write up. Very helpful, as I tackled mine today. I was able to get 5 out of 8, without breaking. I was very optimistic when I got 1-4 out without issue...then #5 broke.
The nut broke from the tip, but the porcelain stayed intact. That kind of threw me, as I couldn't figure out what was going on. Once i did, I used some long needle nose pliers to pull the nut up and out, then broke the plug and pulled it out. Used the Lisle tool to do the rest. Worked very well, and took me about an extra 15 min per, on the broken ones. 6 was fine, then 7 & 8 broke. 8 was a little bit of a PITA, due to accessibility, but not too bad.
I used Champion 7989 platinum plugs. Got them and the Lisle tool for $100, from a guy who bought them, then sold his truck.
My truck has 86k miles, and had a miss that was bugging me. Now it runs like new!
The following users liked this post:
Arizona Tumbleweed (10-15-2017)
10-16-2011, 11:07 AM
#10
Registered User
Thread Starter
iTrader: (2)
Thanks for the write up. Very helpful, as I tackled mine today. I was able to get 5 out of 8, without breaking. I was very optimistic when I got 1-4 out without issue...then #5 broke.
The nut broke from the tip, but the porcelain stayed intact. That kind of threw me, as I couldn't figure out what was going on. Once i did, I used some long needle nose pliers to pull the nut up and out, then broke the plug and pulled it out. Used the Lisle tool to do the rest. Worked very well, and took me about an extra 15 min per, on the broken ones. 6 was fine, then 7 & 8 broke. 8 was a little bit of a PITA, due to accessibility, but not too bad.
I used Champion 7989 platinum plugs. Got them and the Lisle tool for $100, from a guy who bought them, then sold his truck.
My truck has 86k miles, and had a miss that was bugging me. Now it runs like new!
The nut broke from the tip, but the porcelain stayed intact. That kind of threw me, as I couldn't figure out what was going on. Once i did, I used some long needle nose pliers to pull the nut up and out, then broke the plug and pulled it out. Used the Lisle tool to do the rest. Worked very well, and took me about an extra 15 min per, on the broken ones. 6 was fine, then 7 & 8 broke. 8 was a little bit of a PITA, due to accessibility, but not too bad.
I used Champion 7989 platinum plugs. Got them and the Lisle tool for $100, from a guy who bought them, then sold his truck.
My truck has 86k miles, and had a miss that was bugging me. Now it runs like new!
The following users liked this post:
idhntchk (03-21-2020)